
How to Install a Strut Assembly
ALL-IN-ONE SOLUTION
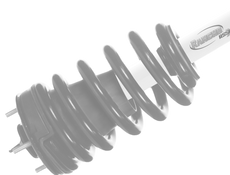
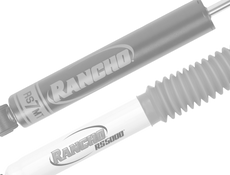
As an all-in-one solution, a strut assembly simplifies installation by removing the need for a spring compressor. Including everything you need for strut replacement in a single, fully assembled unit, installing a strut assembly like a Rancho® quickLIFT loaded strut assembly or a Rancho RS5000X® loaded strut assembly is a straightforward process that can be completed by an experienced DIYer. Learn the steps for installing a strut assembly on your vehicle below.

STEPS FOR REPLACING A STRUT ASSEMBLY
Step 1 – Park the vehicle on a level surface, set the parking brake and chock rear wheels. Measure and record the distance from the center of each wheel to the top of the fender opening.
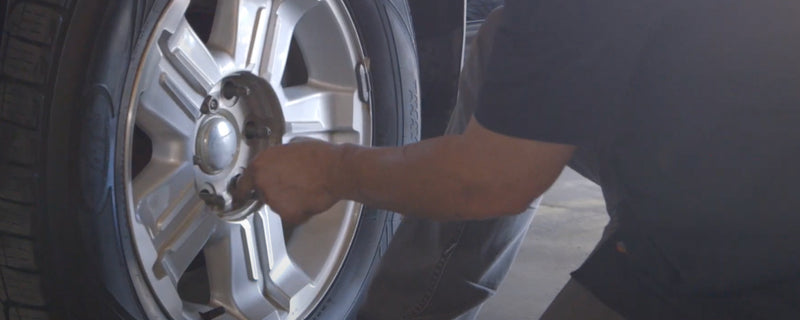
Step 2 – Raise the front of the vehicle and support the frame with jack stands. Remove the front wheels and set them aside.
Step 3 – Disconnect sway bar at end links. Push bar up off end links.
Step 4 – Remove brake hose and ABS wire brackets from steering knuckle and frame.
Step 5 – Loosen outer tie rod stud nut. Using appropriate puller, separate and then remove tie rod stud from steering knuckle.
Step 6 – Mark location of lower control arm mounting bolts in the frame slots, or if equipped, mark location of alignment cams.
Step 7 – Support lower control arm with jack.
Step 8 – Remove upper strut mounting nuts. Loosely re-install one of the upper strut mounting nuts. CAUTION: Do not turn center strut rod nut!
Step 9 – Remove lower strut mounting nuts.

Step 10 – Loosen lower control arm mounting bolts.
Step 11 – Lower jack and swing lower control arms down and out of frame mounts and off strut mounting studs. NOTE: Studs may need to be pried out of control arm.
Step 12 – Loosen but do not remove upper ball joint stud nut. If required, use puller to separate upper ball joint stud from steering knuckle.WARNING: CONTROL ARM WILL SPRING UP WITH GREAT FORCE WHEN BALL JOINT SEPARATES FROM KNUCKLE. USE PRY BAR TO HOLD DOWN AND SLOWLY LIFT BALL JOINT STUD OUT OF KNUCKLE WHEN REMOVING BALL JOINT STUD NUT.
Step 13 – Pry down on upper control arm, remove ball joint nut, and remove ball joint stud from knuckle.
Step 14 – Slowly lower jack under lower control arm until control arm hangs on bushings.
Step 15 – Remove strut assembly from vehicle.

STRUT ASSEMBLY INSTALLATION
Step 16 – Loosely install strut assembly in upper mount using included hardware. If no hardware is included, use OE hardware.

Step 17 – Pry lower mount into position and attach it to lower control arm using supplied hardware (if appropriate). Bolts must be installed with threads to the bottom to avoid damaging the CV boot. Use a jack under the control arm if needed. Torque upper and lower strut mounting nuts to manufacturer specifications. CAUTION: Take care not to damage CV boot.
Step 18 – Pry down upper control arm and attach upper ball joint stud to steering knuckle using OE hardware. Torque ball stud nut to manufacturer specifications.
Step 19 – Attach outer tie rod end to steering knuckle with OE hardware. Torque ball stud nut to manufacturer specifications.
Step 20 – Reinstall brake hose and ABS wire brackets in original locations.
Step 21 – Use jack to raise the lower control arm to a ride height that is 2.5” taller than the measurement taken in Step 1. An alternate method is to carefully lower the vehicle onto a spare set of jack stands, supported by the lower control arms.
Step 22 – Align the lower control arm bolts with previously made marks and torque to manufacturer specifications.
Step 23 – Retorque all bolts on the ground with the vehicle weight on the strut.
Step 24 – Align the vehicle to OE specifications.
Learn more about performance shocks, find your performance suspension part, or find where to buy your shock or suspension part today.
The content in this article is for informational purposes only. You should consult with a certified technician or mechanic if you have questions relating to any of the topics covered herein. Tenneco will not be liable for any loss or damage caused by your reliance on any content.