
How to Replace the Knob on Rancho® RS9000®XL Shocks

NINE LEVELS OF PREFORMANCE

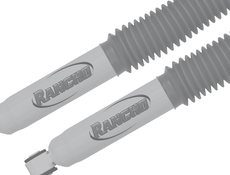
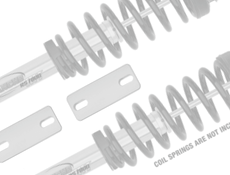
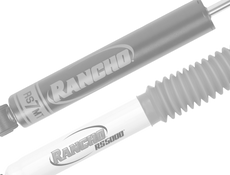
Recognized as the first nine-position manually adjustable shock in the off-road market, Rancho’s RS9000®XL shocks are ideal for a day on the trail. If your rig gets hung up on rocks, the adjuster knob on the shock can break off. This isn’t the fault of the shock; it is just something that can happen during a day of rock crawling. Replacing the knob is an easy repair job – read on to learn the steps involved.
STEPS FOR REPLACING THE SHOCK ADJUSTMENT KNOB
Step 1
Order the replacement adjustment knob – Rancho part number RS8628.

Step 2
Take the broken knob off the shock by removing the two screws on the broken knob using a 1/8 hex key. After removing the knob, clean out any dirt or debris that has collected. NOTE – Take care when removing the knob; if there is internal damage or excessive corrosion, it could cause gas and pressurized oil to leak past the valve pin assembly.

Step 3
Before installing the new knob, you must make sure that the new replacement knob is turned counterclockwise to one. This is because the shock reverses to one when the knob breaks off.

Step 4
Add a couple drops of light oil or silicone grease into the small impression where the "plunger" for the knob adjustment goes in
Step 5
Install the knob assembly on the shock under the arrow with the 1-9 pointing toward it
Step 6
When tightening the screws, alternate between the screws until it’s fully seated. If you use a torque wrench to complete the job, set it between 12- and 14-inch pounds.

PROTECTING THE REAR SHOCK KNOB
To protect the rear adjusting knob on some Jeep models, you can remove the bottom bolts and spin the shock body 180°. This allows the shock mount on the axle to protect the knob while maintaining access to the knob to make adjustments to the shock.
Learn more about performance shocks, find your performance suspension part, or find where to buy your shock or suspension part today.
The content in this article is for informational purposes only. You should consult with a certified technician or mechanic if you have questions relating to any of the topics covered herein. Tenneco will not be liable for any loss or damage caused by your reliance on any content.