
How to Install a Rancho® LEVEL IT Torsion Key System
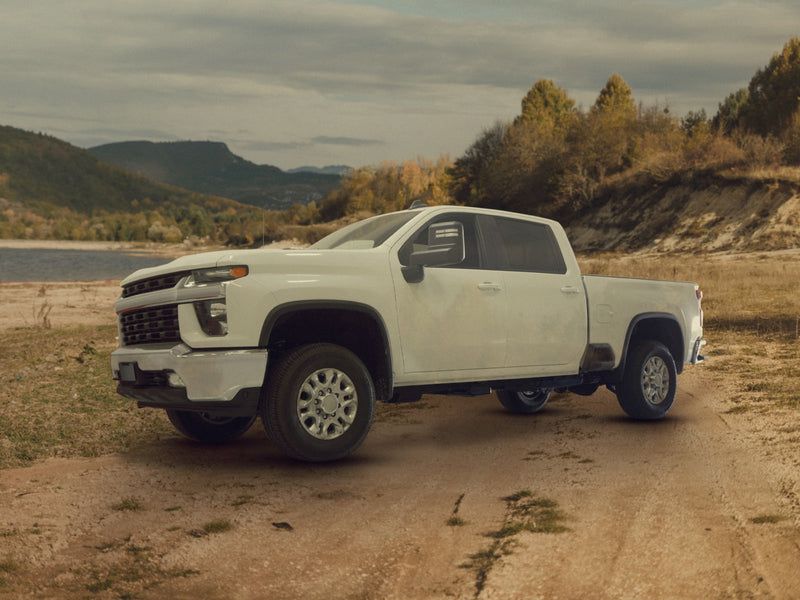
LEVEL YOUR TRUCK
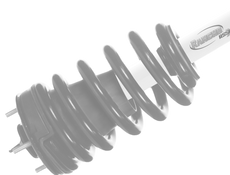
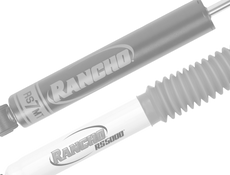
Looking to reduce factory rake and level out your truck’s stance? Install a LEVEL IT torsion key system from Rancho® on your truck. Complete with Rancho RS5000®X, LEVEL IT torsion key kits are available for Chevrolet Silverado/GMC Sierra 1500, 2500 and 3500 trucks. Read on to learn how easy it is to install a torsion key on your vehicle and how to complete the installation of the LEVEL IT kit with these instructions for installing RS5000X shocks.

GETTING STARTED
To make the repair easier, consider using a torsion bar load tool such as MOOG® part T40016. This part has a notch on the top of the index where it goes on the rear cross member and has a nub where it fits into the dimple on the key.
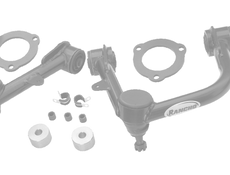
Before starting the job, take time to familiarize yourself with the components you’ll be working with:
- Torsion bar
- Torsion bar key
- Adjusting bolt
- Adjusting lock nut

REMOVING THE TORSION BAR KEY
Step 1
Take a measurement from the lock nut to the end of the bolt. You’ll need this measurement so that once you remove the key and the bar, you’ll be able to set it back.

Step 2
Install the c-clamp torsion bar removal tool by screwing it in by hand. Ensure that the index marks are properly lined up.

Step 3
Using an impact gun, relieve the tension that is on the torsion key. Make sure the lock nut and adjusting screw are both loose.

Step 4
Remove the adjusting screw. For those in the Rust Belt, use some penetrating oil or lubricant ahead of time to aid in removal. Also remove the lock nut.

Step 5
Relieve the tension on the torsion key removal tool using an impact gun.

Step 6
With the tension off of the torsion key removal tool, push out the torsion bar toward the front of the vehicle. The key will drop out; you can then compare the keys to make sure you’re putting an oversized one in there. If it is rusted in place, you may need to take an air hammer to the back of the torsion bar to loosen it from the key.
Step 7
Remove the torsion key. Grab torsion bar and slide it forward until the key comes loose and you’re able to remove it. Be sure to hold the key while doing this. Set the key aside.

INSTALLING NEW TORSION BAR KEY
Step 1
Slide the torsion bar back into place.

Step 2
Attach the torsion key, sliding it into place so that it is at the same angle that it was originally in.

Step 3
Use the torsion key installation and removal tool to help you get the key in place. Place the tool on the key, getting the index point in place. Screw the tool in by hand. Tighten it with an impact gun.

Step 4
Check to see if you have enough clearance to slide the lock nut into place; continue to adjust until you can get the nut into place.

Step 5
Screw in the adjusting bolt by hand and then torque it with the impact gun.

Step 6
Remove the torsion key install tool using an impact gun.
Step 7
Measure the distance from the lock nut to the end of the bolt to ensure that it matches the measurement that you took in step 1 of the removing the torsion bar key procedure.

| Rancho LEVEL IT Torsion Key System | ||
| Part Number | Application | Shocks Included – Amount of Level |
| RS66300R5 | 1999-2006 Chevrolet Silverado/GMC Sierra 1500 | RS5000X – 2.25" |
| RS66350R5 | 2011-2010 Chevrolet Silverado/GMC Sierra 2500 HD | RS5000X – 2.25" |
| RS66351R5 | 2011-2019 Chevrolet Silverado/GMC Sierra 2500/3500 HD | RS5000X – 2.25" |
| RS66352R5 | 2020-2022 Chevrolet Silverado/GMC Sierra 2500/3500 HD | RS5000X – 2" |
Learn more about performance shocks, find your performance suspension part, or find where to buy your shock or suspension part today.
The content in this article is for informational purposes only. You should consult with a certified technician or mechanic if you have questions relating to any of the topics covered herein. Tenneco will not be liable for any loss or damage caused by your reliance on any content.